How to Screen Record Paramount Plus without Black Screen in 2025 Easily

Paramount Plus offers a vast library of movies, but recording them for later viewing can be challenging. Attempting to record often results in a black screen due to Digital Rights Management (DRM) protection, which prevents traditional screen recording, leaving users with limited options.
Luckily, there are various ways you can record Paramount+ videos without a black screen. This guide shares simple methods on how to screen record Paramount Plus that work in 2025. Explore more below!

Screen Record Paramount Plus
Part 1. Can You Screen Record Paramount Plus?
No, you cannot directly record content on Paramount Plus, as the platform does not include a DVR (Digital Video Recorder) or any built-in recording feature. To save Paramount+ shows or movies, users typically rely on workarounds such as screen recording or capturing the system’s output through other methods.
Various tools are commonly used to capture streaming video from Paramount Plus:
- Windows (PC): Xbox Game Bar (built-in), OBS Studio, iTop Screen Recorder, etc.
- macOS: QuickTime Player, OBS Studio, Camtasia, etc.
- Android / iOS: Built-in screen recorder found in Control Center (iOS) or Quick Settings (Android).
Then in the following article, we will explore detailed steps to screen record Paramount+ on Windows/macOS without black screen.
Part 2. Screen Record Paramount Plus without Black Screen on Windows/Mac
To completely avoid a black screen or similar issues, start by disabling any hardware or graphics acceleration in your browser. Here’s how you can do it:
Disable Hardware or Graphic Acceleration in Browser
For Google Chrome:
Step 1: Navigate to the three-dotted menu in the top right-hand corner of the Chrome window.
Step 2: From the dropdown menu, select the Settings option.
Open Settings in Google Chrome
Step 3: From the left-hand side panel, select “system”.
Step 4: From here, disable the option of “Use graphics or hardware acceleration when available”.
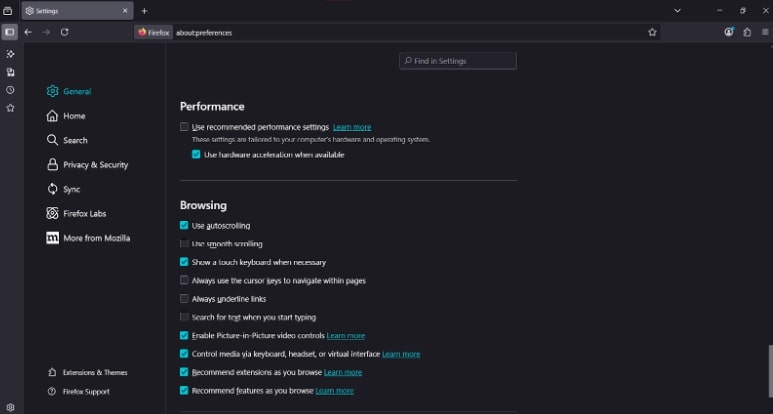
For Mozilla Firefox:
Step 1: Open the hamburger menu, located in the top right-hand corner
Step 2: Go for the “Settings” option in the dropdown.
Step 3: Make sure that the “General” option is selected in settings.
Step 4: Scroll down to the performance section, and deselect the “Use recommended performance settings”
Step 5: A new option for “Use hardware acceleration when available” will appear in the same section; deselect it as well.
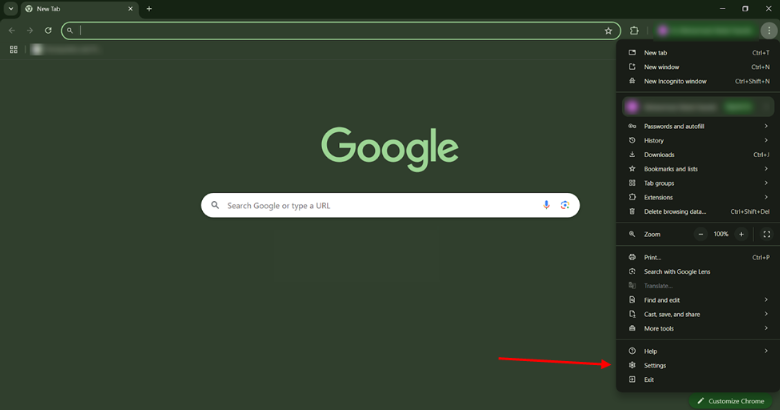
For Microsoft Edge:
Step 1: Click on the three-dotted menu in the top right-hand corner beside the Copilot logo.
Step 2: Choose “Settings” from the dropdown.
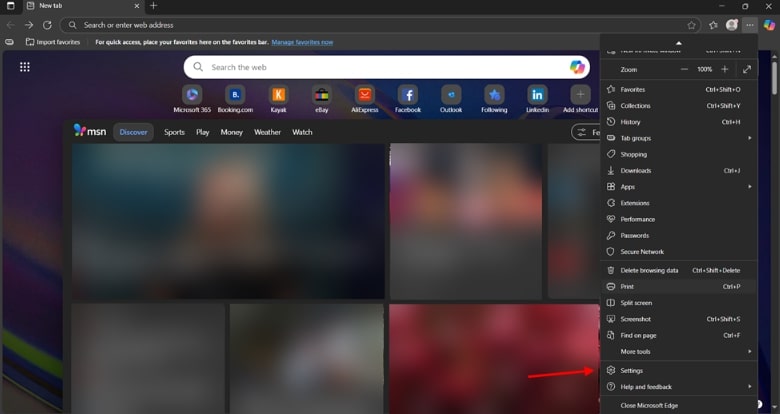
Settings Option from the Dropdown
Step 3: From your settings, select the “System and Performance” tab from the side panel.
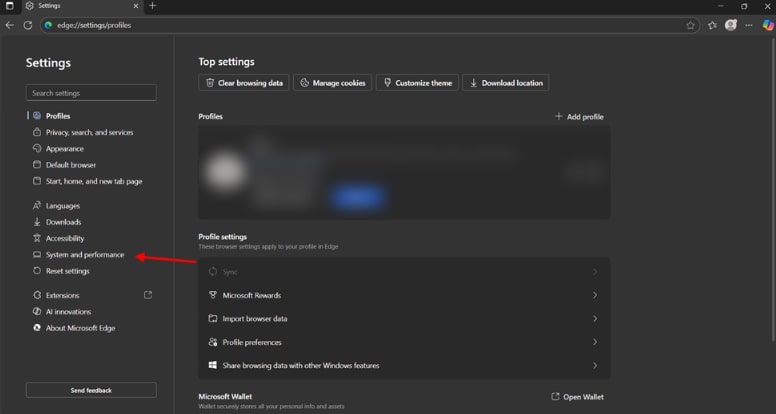
Setting of Edge
Step 4: Now choose the system option.
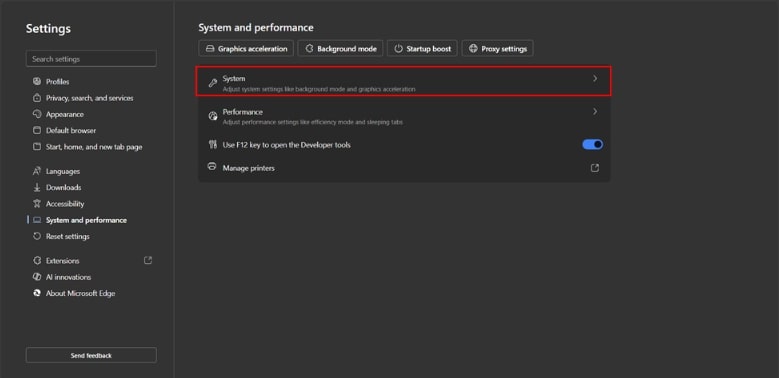
System and Performance Settings in Edge
Step 5: Disable the “Use graphics acceleration when available”.
Disable Graphics acceleration in Edge
The reason behind using the browser for recording instead of the native versions of Paramount Plus on Windows or Mac is that they come permanently enabled with hardware/ graphics acceleration.
Method 1. Screen Record Paramount Plus via OBS Studio
Open Broadcaster Software is an open-source tool for screen recording, available for Windows, macOS, and Linux. While its interface seems difficult at first, once you learn the basics, it’s actually quite easy to use.
You can use OBS on macOS, but recording Paramount Plus in Safari is tricky because you can’t turn off hardware or graphics acceleration. A better option is to use another browser on macOS, like Google Chrome, Mozilla Firefox, or Microsoft Edge.
You can follow these steps to record the content streaming on Paramount Plus:
Step 1: Download and install OBS on your native system.
Step 2: In the sources section, click on the “+” button. This will allow you to add video and audio sources that the software will record.
Step 3: From the menu, select “Display Capture”, which allows you to record your screen.
Step 4: A new window will appear, prompting you to name the display, enter a name, and click OK.
Step 5: A new window will appear, asking to choose the capture method. Select the display you want to record, especially if you have multiple monitors. Decide whether to include the cursor in your recording and force SDR. Choose according to your preferences, and press “OK”.
Step 6: Now open “Settings” from the bottom right corner of the application.
Step 7: From the sidebar within the settings, go into the “Output” settings. Under the “Recording” section, set your desired path where you want the recording to be stored.

Output Settings
Step 8: One last thing to take care of is muting your device’s microphone, especially on a laptop, as it will automatically detect and record any sounds it picks up. You can do this by muting or lowering the mic volume to the minimum in the Audio Mixer’s “Mic/Aux” section.

Mute your Microphone
Step 9: From the “Controls” section on the left-hand side, you can select “Start Recording”, and then it will start recording everything on your screen.
Step 10: Once completed, click on “Stop recording” and proceed to the path you provided in step 7, where you will find the recorded file.
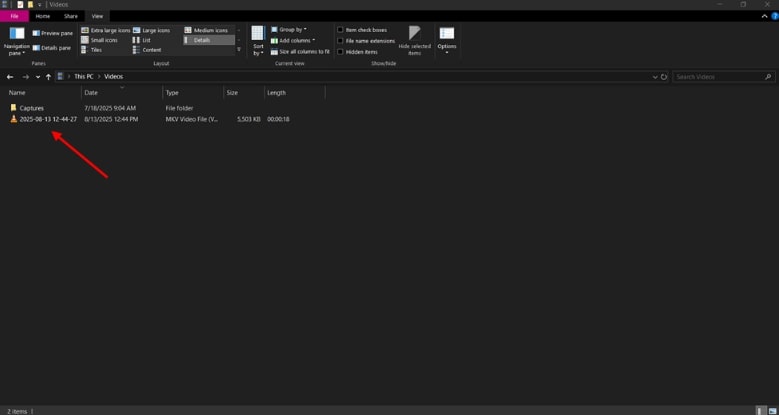
Recorded File
Method 2. Screen Record Paramount Plus with Built-in Xbox Game Bar
XBox Game Bar, a screen capture and gaming overlay developed to work natively with Windows 10 and 11 systems. It is fundamentally designed and integrated into the Windows ecosystem to record gameplay, which is achieved by recording everything on the screen.
Follow these steps to record your screen using the Xbox Game Bar:
Step 1: Use the shortcut key “Win + G” to access the game bar overlay and click on the capture icon.

Capture Using XBox Game Bar
Step 2: This will launch another overlay on the left side, from which you can select the record button or use the shortcut key “Win + Alt + R”.
Step 3: Once the recording starts, another overlay will appear on the screen showcasing the recording time and the “stop recording” button. Once completed, click “Stop recording”.
Start/ Stop Recording
Step 4: Once stopped, another overlay will appear reporting that the “Game Clip is recorded”, press “Win + G” to access the game bar again.
Step 5: Now you can watch your previous recordings directly from the overlay, or choose the Open file location option to play them in your preferred video player.
Method 3. Screen Record Paramount Plus with QuickTime Player
QuickTime Player is the default media player for macOS, and is already installed on your Mac device, and it can be used for recording the screen as well to record your Paramount Plus content.
Here is how you can use QuickTime Player on macOS to record Paramount+ content:
Step 1: Launch the QuickTime Player application from the taskbar if it’s pinned there. If not, you can also use Spotlight Search.
Step 2: Once launched, click on “File” and select “New Screen Recording” from the dropdown.

Screen Recording with QuickTime Player
Step 3: It will now prompt you to configure the recording area, where you can create a custom selection, choose a specific window, or record the entire screen.
Step 4: Once you have completed your recording, click the stop recording button.
Once you stop recording, it will save the recorded file on the desktop and will open it as well, from where you can move it to your desired location.
Part 3. Screen Record Paramount Plus with HDMI Splitter and Capture Card
A capture card records the display output from your device, but Paramount Plus content is protected by HDCP (High-Bandwidth Digital Content Protection), which prevents direct recording. This is where the HDMI splitter comes in—it removes the encryption layer and sends a clean, recordable signal to the capture card.
You need to have the following items to start recording;
- Capture Card
- 2x HDMI Cables
- HDMI Splitter
- Obs Studio
It’s a lengthy process to set up, but it’s a one-time task if done correctly. Here are the steps:
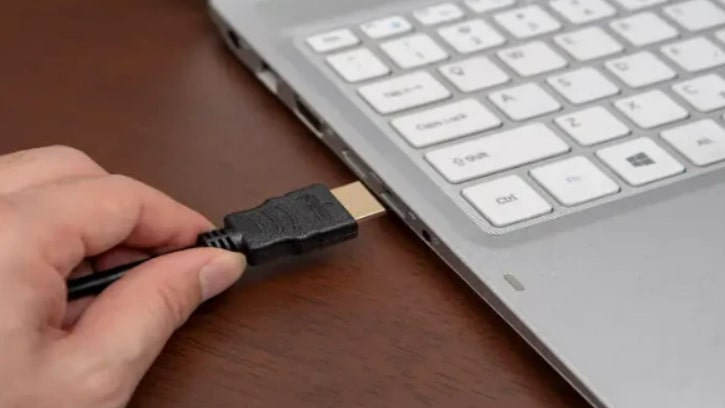
Step 1: Plug one end of the HDMI cable into the laptop for display output.
Plug-in HDMI Cable in the Laptop
Step 2: Then plug in the other end of the HDMI into the input of the HDMI splitter.
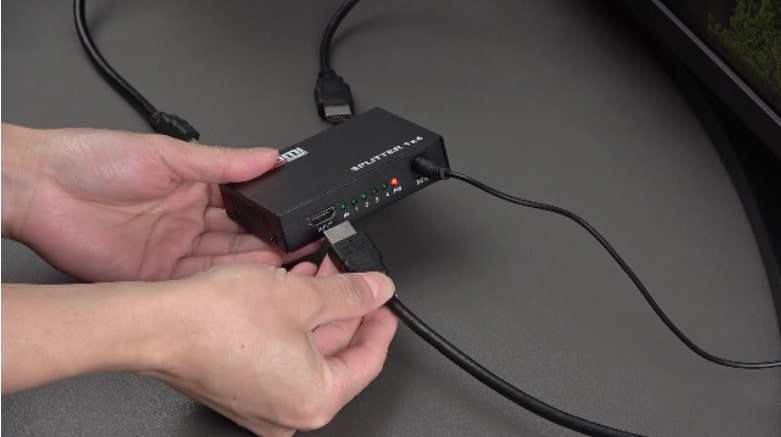
Plug-in the HDMI Cable into the HDMI Splitter
Step 3: Connect the second HDMI cable to the output port of the splitter, and plug that into the capture card.
Step 4: Plug the capture card into the computer.
Step 5: Launch OBS and repeat clicking on the “+” symbol in the sources section.
Step 6: Choose “Video Capture Device”, this will launch a window asking you to name this recording, give it a name, and press ok.
Step 7: A new window will open showing that your webcam is connected if you are using a laptop. From the device menu, select the video capture device and press ok.
Step 8: Mute the microphone from the “Audio Mixer” section and press “Start Recording” from the “Controls” section.
Part 5. A Better Way to Save Paramount+ Offline [Easy & Safe]
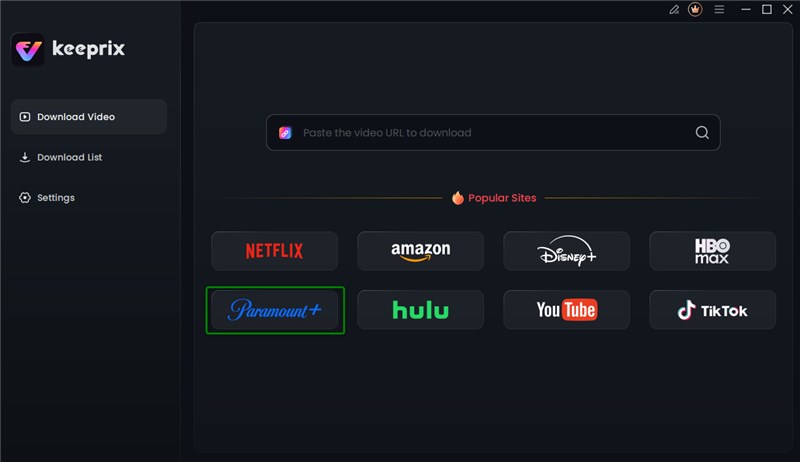
Instead of struggling with screen recording issues like black screens, poor quality, or time-consuming setups, you can use a professional tool: Keeprix Video Downloader.
Keeprix is designed for streaming platforms, letting you:
- Save Paramount+ videos in original quality without black screen issues.
- Download episodes in batches with subtitles and multiple audio tracks.
- Get files in universal formats (MP4/MKV) for easy playback on any device.
- Enjoy a safe, simple, and stable way to watch offline anytime.
If you want the easiest and most reliable solution, KRVD is the better choice over traditional screen recording.
Step 1: Download Keeprix Video Downloader
Download and install Keeprix Video Downloader on your PC/Mac. Launch Keeprix Downloader on your computer. Select the Paramount+ platform.
Choose Paramount+ Platform
Step 2: Log in Paramount+ Account
Log in to your Paramount+ account via your credentials. The account login is only used to obtain the correct video information, and we fully ensure the privacy of your data
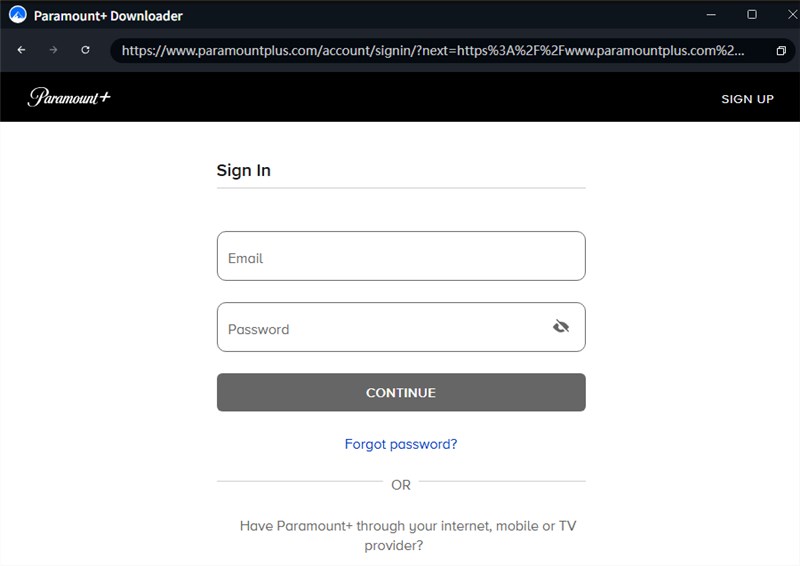
Log in Paramount+ Account
Step 3: Adjust Download Settings
Search for videos you want and click the download button. You can choose Resolution, Audio, Subtitle, Subtitle Type, and Output Path as you like.
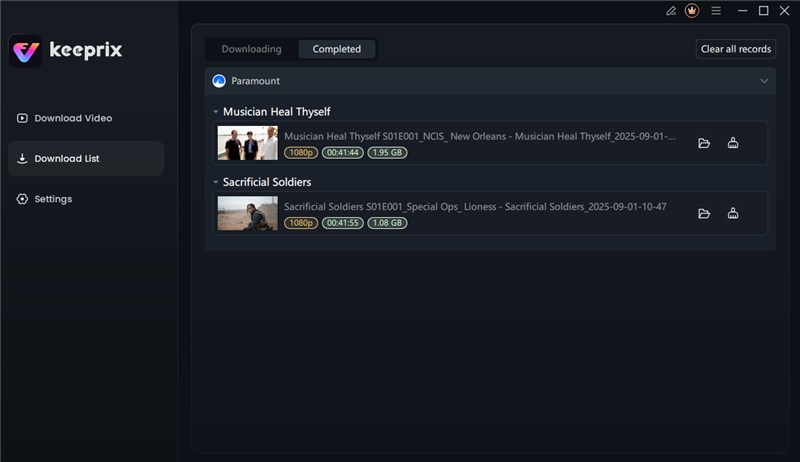
Step 4: Download Paramount+ Videos
After clicking the Download button, just wait for the download to be completed. Once the download process is completed, you can watch Paramount+ videos offline without restrictions.
Download Paramount+ Videos
Part 6. Conclusion
Yes, it is possible to record Paramount Plus without a black screen in 2025, but each method comes with its own limitations. On PC, users often rely on the browser version of Paramount+ rather than the native apps for Mac or Windows, since browsers allow disabling hardware acceleration. OBS Studio is a popular choice, though it takes some time to configure properly. Xbox Game Bar works natively on Windows but is primarily designed for game recording. Using a capture card with an HDMI splitter can bypass HDCP encryption, but it requires extra cost and hardware setup. In the end, the best option depends on your device, viewing habits, and how much effort you’re willing to put in.